I’m taking a diversion from the sort of things we usually write about and posting this information in the hopes that it will help some future traveler on The Canadian. One thing I learned ahead of time is that berths are the only accommodations on the train without their own outlets. As a pretty connected family that was bringing many devices, I spent a lot of time searching online, trying to figure out the locations of various outlets that we could use to charge them. In particular, I read that there was an outlet in the hallway of the sleeper cars near the bathrooms that might be reachable with an extension cord, but the description of exactly where was pretty vague, so I had no idea how long of a cord would be needed to actually make reasonable use of it. If you’re like I was and trying to understand what you’re in for as a berth passenger with charging needs, here’s my best description of all of the charging options I saw on the train.
The Bathroom. I know it seems weird, but the reality is that there are only a handful of other passengers likely to use the bathrooms at the front of each manor sleeper car. This is because all of the single and double cabins have their own toilet and sink inside those compartments. So you’re really just sharing with the other berth passengers. Of course there’s nothing stopping other passengers walking through from using these bathrooms, but I suspect most people are going to be charging at night when that sort of traffic will be minimized.
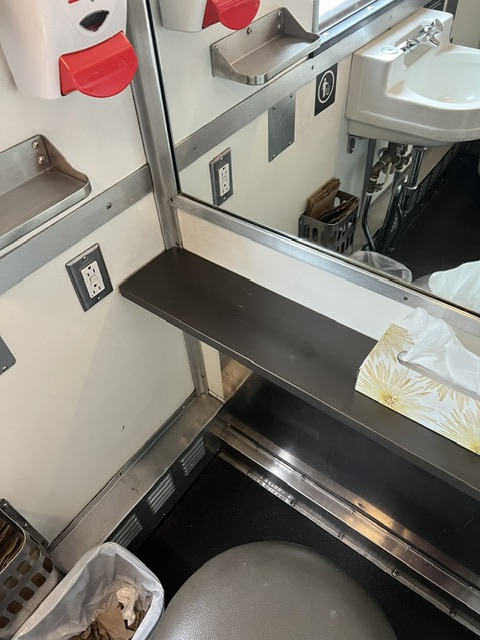
When facing the front of the train, the bathroom on the right is larger than the one on the left. This larger bathroom is best option in my opinion. Opposite the toilet, it’s got a small stool with a shallow shelf under a mirror on the wall. That shelf is plenty close to the outlet, making it the perfect place to set your devices while topping up.
There is one potential caveat, though. We took two different trains due to a stopover during our trip. The first one had both bathrooms marked for use by anyone, while the second train had the larger bathroom marked for women and the smaller for men. I doubt the labels matter much in the end, but it’s something to keep in mind.
There is also an outlet in the smaller bathroom, but I wouldn’t recommend it. You can see in the picture that there is a small shelf nearby, but it’s actually the drip tray for the soap dispenser. It’s certainly not ideal for a phone, and likely too small to hold a tablet or more than one device.
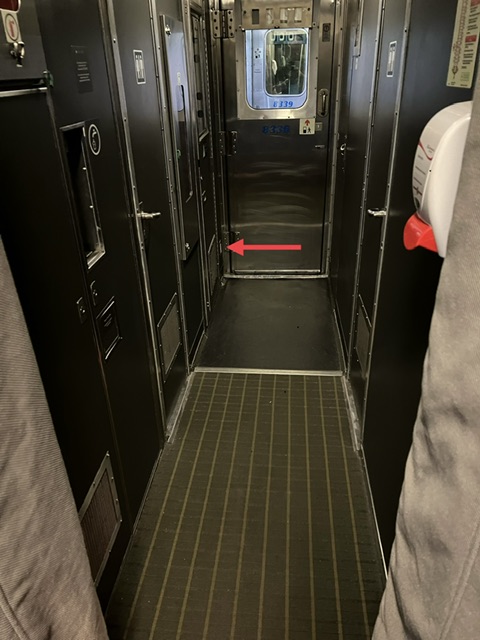
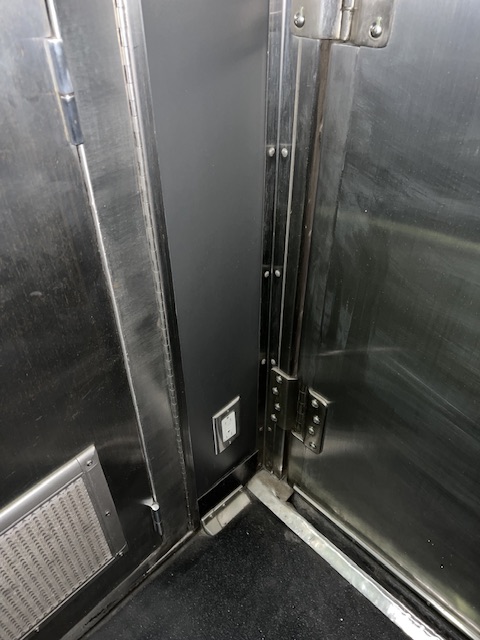
Hallway Outlet. This is the primary reason I decided to write this post. There is indeed an outlet in the hallway near the berths in every manor car. It’s at the very front of the car on the same wall as the smaller bathroom, so it’s on the left side when facing the front of the train. I decided to buy a 10 foot extension cord (about three meters) and hope for the best. Mine turned out to be just long enough to be functional, but not quite ideal. The end reached just to the edge of the nearest berth, so a typical three foot (~one meter) charging cable would reach the rest of the way onto the seat. A 15 footer (approximately four and a half meters) would have been ideal. You’d especially want that if you were on the opposite side of the car behind the larger bathroom. And if you’re in the third birth, you’d probably want a length of at least 20 or maybe even 25 feet (six to seven and a half meters) which might be getting too large to be worth packing into your luggage.


I did use this option a few times when I wanted to charge a device during the day without babysitting it. Under those circumstances, I was more comfortable leaving the device amongst our other stuff on the seat in the berth over sitting unattended in the bathroom. If you think this is a good option for you, I would highly recommend an extension cord with a flat plug so it won’t stick out from the wall into the already narrow hallway. I bought this one from Anker and got lucky that the plug was actually installed upside down so that the direction of the cord coming out of the plug was correct to maximize it’s reach. This was not true for our sleeper car on the second leg, though, so an even better option might be one with a flat plug that also rotates 360° so direction doesn’t matter.
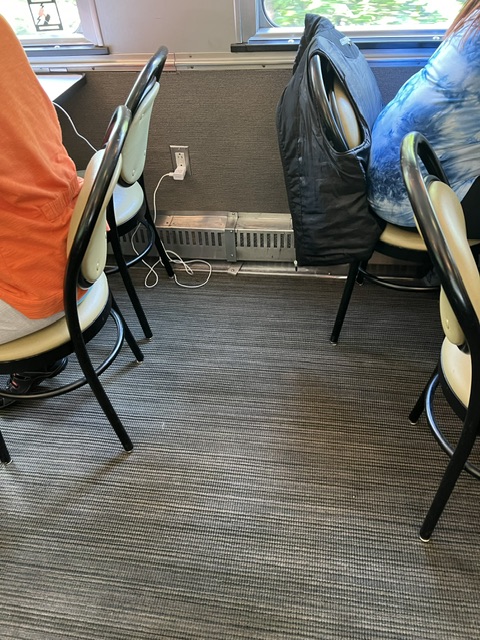
Skyline Car. There are two viable options in the Skyline car, both on the lower level. The first and most likely to be available is in the middle of the activity section with tables and chairs. We spent a fair amount of our time here playing cards and other games, so this was actually a pretty good option for us. This outlet is centered between two tables, so you can reasonably use it from either of them. At least one of these tables was open pretty much every time we walked through the car, so I was always able to plug in at least one device here every time I tried.
I thought this was the only option in the Skyline car until close to the end of our second leg. I happened to be nearby when the activity coordinator pointed out a second option to another passenger. It’s in the lounge area between a booth and the bathroom. This one is really only a viable option if you’re sitting in that specific booth due to the relatively heavy traffic through the Skyline car.
Park Car Bullet Lounge. This is a great option with a caveat. On one hand, the Park car is the nicest and comfiest spot on the entire train with a single receptacle for every seat in the lounge on the lower level. However, the Park car is only available to berth passengers after 4pm each day. Prior to that, it is reserved for the use of prestige class passengers only. It’s also the last car on the train, so depending on the placement of your sleeper car, it’s a bit of a commitment to get all the way back there. I only visited twice over our four days, and didn’t think to grab a picture. I did find this video from Adventures with Todd that clearly shows the outlets, though.
No Outlet! I would be remiss if I didn’t mention this option as well. Even though I knew there would be charging opportunities using outlets somewhere, I also came prepared with a backup plan in the form of two power banks. Something like this 10,000mAh option from Anker will recharge a phone up to three times, and it’s small enough (about the size of a phone) to carry it with you and top up anywhere.
I hope this helps someone out there! Thanks for reading.


